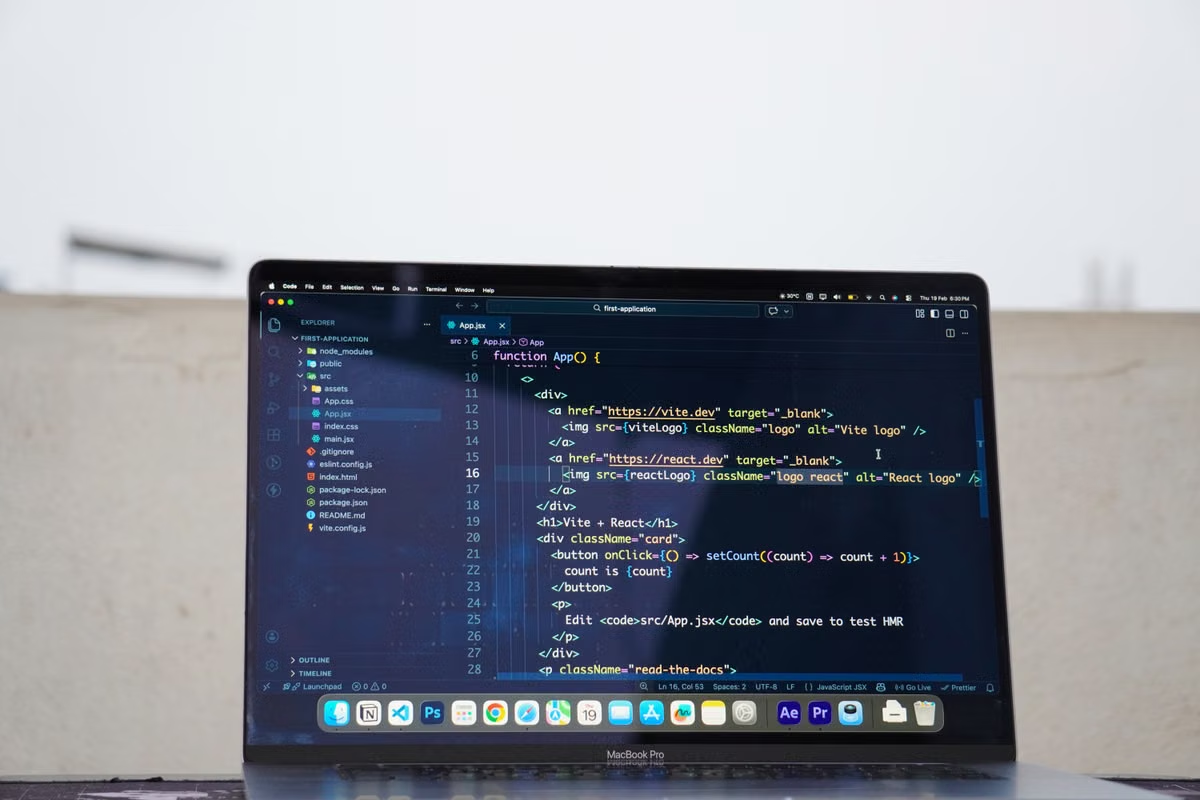
Apple’s release record dates Xcode 27 to September 14, 2026. That confirms the version context, not that every Device Hub capture is ready for the store. Our recommendation: capture in Device Hub, then verify the target device, visible content, file conditions, and App Store Connect upload entry separately before submitting. Apple’s Xcode release record
Last updated September 29, 2026. We checked Apple’s Xcode release record, Device Hub screenshot documentation, App Store Connect screenshot specifications, and upload guidance.
Who should use this runbook:
UI designers preparing store images from a running Apple-platform app.
Independent developers capturing simulator screens with Xcode 27 Device Hub.
Windows-based creative teams that need a Mac to verify the actual simulator output.
Xcode 27 App Store screenshots: capture is not approval
Device Hub can capture a running simulated device, but a successful capture only proves that an image was created. It does not prove that the image matches the store’s current device requirements, accurately represents the app, or can be uploaded for the selected device entry.
Apple’s documentation describes capturing screenshots and videos from devices through Xcode. It also ties the captured image to the simulated device, rather than to the resolution of the Mac’s display. That distinction matters when a Windows designer builds a layout around a preview shown on a remote screen: the Mac’s monitor size is not the file’s target size. Check the Device Hub capture documentation before treating a displayed preview as a specification check.
We use three separate terms in this guide:
- Simulator capture: the unprocessed image of the app running on a simulated device.
- Store artwork: a presentation layout that may add framing, captions, or background elements.
- Upload file: the final image submitted for a specific app, language, and supported device entry.
A capture can be valid while the finished artwork is not. A polished store image can also be unsuitable if its dimensions, content, or file properties fail the current upload rules.
| Asset stage | What it proves | What it does not prove |
|---|---|---|
| Device Hub capture | The app was shown on a selected simulated device and an image was saved | That the image fits every store slot or is ready to upload |
| Designed store artwork | The screenshot has been arranged for presentation | That the design accurately represents the app or meets file rules |
| Final upload file | A particular image has passed your project’s checks | That App Store Connect currently accepts it for every device entry |
| Check | Pass condition | If it fails |
|---|---|---|
| Capture source | Image comes from the intended app state and simulator device | Reopen the correct build and capture again |
| Device match | Image dimensions and orientation match a current store requirement | Re-export or capture for the correct target |
| Content accuracy | Visible controls and features match the app’s real behavior | Remove or correct misleading additions |
| File conditions | The file meets Apple’s current format and transparency rules | Export a compliant file and inspect it again |
| Upload eligibility | The corresponding device entry is available in App Store Connect | Hold the asset; do not treat a published specification as an open upload slot |
Can a Device Hub capture go straight into App Store Connect?
Usually, it should not be treated as ready without review. A raw capture may be close to the required dimensions, but it still needs a target-device match, a content check, and confirmation that the relevant upload entry is available.
Keep the capture intact as a source file. If the store design uses a frame or text, create a separate artwork file rather than overwriting the original. This makes it easier to identify whether an issue came from the app screen or from later design work.
During review, compare the image against the current App Store Connect screenshot specifications. Use the page for the actual app platform and target device. Do not substitute a saved template from an older project: a familiar device name does not guarantee that its current slot, dimensions, or upload conditions are unchanged.
A quick visual preview is not enough. A capture displayed inside a remote desktop window may be scaled for viewing. Inspect the saved image’s actual pixel dimensions and orientation in the file itself, then compare those properties with the current specification. The screen resolution of the Windows workstation or the remote Mac display does not establish whether the exported asset fits.
What if simulator dimensions do not match App Store Connect screenshot specs?
First, identify which value is wrong: the simulator target, the image file, or the store requirement being used. Avoid stretching the image to force a match. Resizing can alter the composition, crop interface elements, or produce a file that appears to fit while no longer representing the intended device capture.
Apple’s specification page is the source of truth for the current device slots and their requirements. Confirm the device family, orientation, and required image dimensions there. Then check the saved file, not only the preview in a design canvas. Where a design tool has scaled the image for layout, export the final image and inspect its properties again.
A mismatch calls for a fresh decision, not an automatic resize:
- If the wrong simulator device was selected, capture from the correct target.
- If the capture is correct but the artwork canvas is wrong, rebuild the canvas using the current requirement.
- If the current specification does not list the intended device, do not assume a visually similar device is an acceptable substitute.
- If an old template conflicts with Apple’s current page, retire the template and record the verified requirement for the project.
Keep the capture and final upload asset linked in your working files. A simple naming convention can include the app language, device target, orientation, and revision identifier. That convention is a workflow recommendation, not an Apple-mandated naming rule.
iPhone Duo screenshot dimensions versus upload availability
Apple’s current screenshot specifications list dimensions for iPhone Duo, but the same page says support for uploading screenshots for that device will be available later in the year. A published dimension is therefore preparation information; it is not confirmation that the corresponding upload entry is already open.
Before creating a production batch for iPhone Duo, check the live specification page and the relevant App Store Connect app page. If the device entry is absent, preserve the capture and design source, but do not promise that the final image can be submitted. Recheck the upload interface when Apple updates its support status.
Hold point: do not label an iPhone Duo asset “submitted” or “accepted” merely because its dimensions appear in Apple’s specification. The upload route and the listed dimensions answer different questions.
This status can change. If Apple opens the upload option or revises the specification, update the project’s checklist and review any prepared assets against the live requirements before submitting them.
Content and file checks that dimensions cannot replace
A correctly sized image can still create a review or customer-trust problem if it implies functionality the app does not provide. Compare the screenshot against the actual running interface. Check that labels, controls, and visible results are genuine. If the artwork adds a caption or visual treatment, ensure it does not change what the screen appears to do.
Keep the content review separate from the file review. Apple’s upload instructions for app previews and screenshots are the place to verify the currently accepted file conditions. Confirm the permitted format and any transparency restrictions there rather than relying on a preset from a previous delivery.
Our file pass should include:
- Open the exported file and confirm that it is the intended final revision.
- Inspect the actual pixel dimensions and orientation.
- Check the current Apple upload guidance for allowed file formats and transparency limits.
- Compare the visible app screen with the running build.
- Confirm that added framing or copy does not obscure interface details or misrepresent a feature.
- Preserve the original simulator capture separately from any designed version.
Do not let one successful check stand in for the others. Dimensions do not establish content accuracy. A clean-looking image does not establish file compliance. A file that meets both checks still needs an available upload entry.
How should localized and device-specific versions stay traceable?
Treat each language and device target as its own deliverable. A layout that works for one language may not fit another after translated copy changes line length. A screenshot composed for one device may crop or scale poorly when adapted to another. Reusing a single finished image across all variants without checking those differences creates avoidable rework.
Apple’s localization guidance for app information explains how localized store information is organized. Follow the current instructions for the app’s languages and the applicable upload slots. Keep a project record that connects each final image to its language, device target, orientation, source capture, and revision. This mapping is a team workflow choice; it is not a claim about Apple’s required naming format.
A practical folder structure might separate source captures from upload-ready exports, then group exports by language and device target. The important control is traceability: a reviewer should be able to tell which capture produced a given final file and which current specification was used to approve it.
Windows design workflow with a remote Mac
Windows can remain the main design workstation for layout work, file organization, and review. But if the acceptance depends on capturing a real Xcode 27 Device Hub simulator screen, that step requires access to the Mac environment running Xcode. A remote Mac is relevant for that verification step, not as a replacement for the design team’s entire workflow.
For teams comparing rental access with other ways to get a Mac environment, MESHLAUNCH’s Mac rental overview is a starting point for reviewing the available options. Whether that approach fits depends on whether the required Xcode and simulator workflow is available in the selected environment, how files will be retrieved, and who performs the final submission. We do not assume a particular configuration or performance result without a verified environment record.
For a specific Mac option, review the available Mac mini access details alongside the project’s access and handoff needs. Confirm that the environment supports the required Xcode workflow and that the team can retrieve and approve the files. We do not assume a particular configuration or performance result without a verified environment record.
A remote session also introduces practical checks. Confirm that the person capturing the screen has access to the correct build and simulator target. Decide how the original capture and exported file will be transferred back to the Windows design workflow. Keep credentials and submission responsibility with the authorized team member. If the project needs local peripherals or a persistent workstation for sustained work, compare a remote setup with a locally owned Mac before committing.
For a team already using Windows for visual production, this split can avoid moving the whole design process. The Mac is used where the native simulator is necessary; Windows remains the place for the existing layout and review process. That only helps if the capture, export, and final approval handoffs are explicit.
Final acceptance checklist
Before a responsible team member submits the images, we use this order:
- [ ] Confirm the screenshot comes from the intended app build and visible app state.
- [ ] Record the simulated device and orientation used for the capture.
- [ ] Compare the actual exported pixel dimensions with the current App Store Connect specification for that target.
- [ ] Confirm that the device has an available upload entry in App Store Connect.
- [ ] Review the image for misleading copy, altered controls, cropped content, or unsupported claims.
- [ ] Check the final export against Apple’s current format and transparency requirements.
- [ ] Match each file to its language, device target, and revision record.
- [ ] Have the authorized submitter confirm the result shown in the live App Store Connect page.
The final confirmation belongs in App Store Connect, not in a design mockup or a local folder. Apple also documents asset handling through its App Store Connect API upload guidance; teams using an automated upload path should verify that path separately from the Device Hub capture itself.
For Windows-first teams, the current workflow may mean relying on a scaled remote preview, transferring files without a clear source-to-export record, or delaying verification until someone with Mac access is available. Those are avoidable handoff risks, but a remote Mac is not automatically the right answer for every project. If Xcode 27 Device Hub capture is an occasional need, renting a Mac from MESHLAUNCH can provide a Mac environment for that verification without buying hardware; if the work is continuous or depends on local peripherals, compare that with owning a Mac. Before choosing, confirm that the environment supports the required Xcode workflow and that the team can retrieve and approve the files.