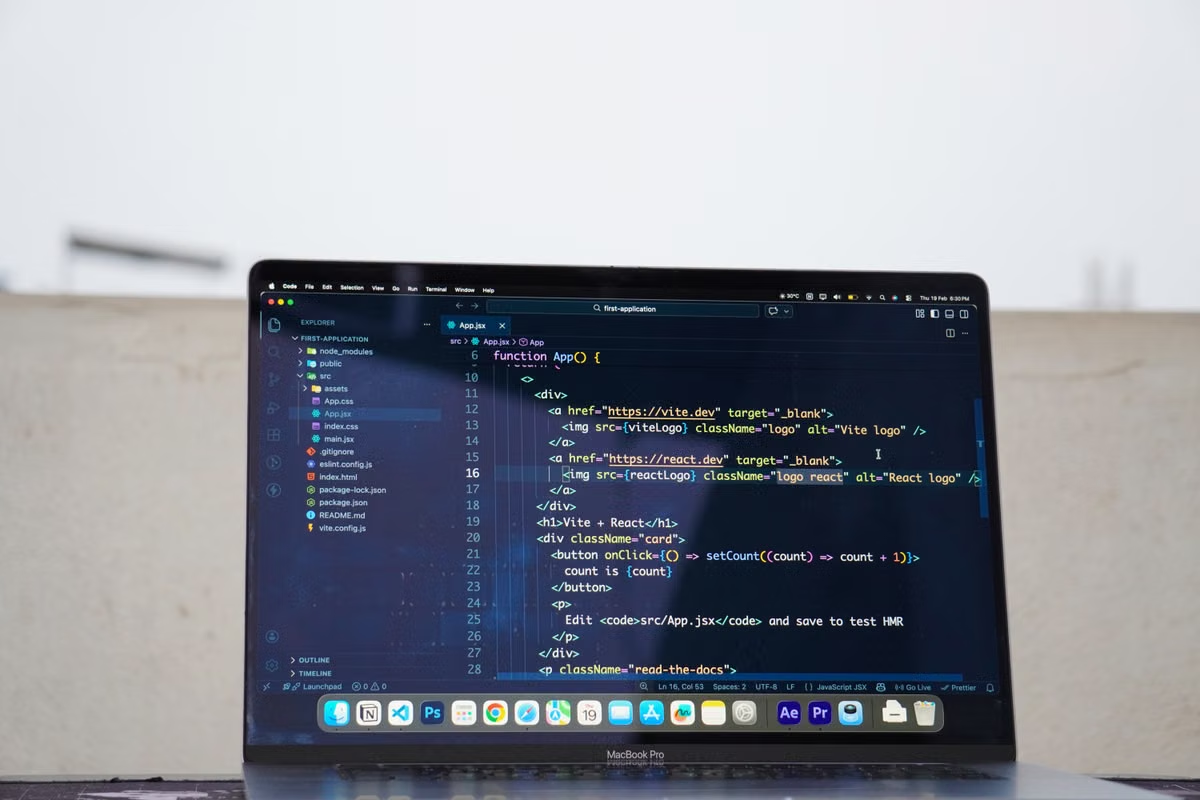
Apple’s current SwiftUI documentation makes one fact clear: a preview macro tells Xcode which interface to render in the Canvas. That gives us the first move when Xcode 27 SwiftUI Preview is not showing: verify the preview macro, target platform, and build result before touching Canvas settings or reinstalling Xcode. If the basic project check passes but the local computer cannot provide a compatible Mac environment, move the final preview test to an Apple silicon Mac or a remote Mac.
This week’s action: create one tiny view, confirm #Preview, build it once, and record exactly where the failure starts.
This guide is for students writing SwiftUI for the first time, especially those using Windows, a school computer, or a remote Mac. We focus on locating the blocked layer, not on teaching the whole Swift language. Students who already run the app but lose previews often can use the final acceptance checklist to separate code faults from environment faults.
Start with the symptom, not the reinstall button
An empty preview can mean several different things. Treating every symptom as “Xcode is broken” creates extra work and can remove useful evidence.
| What you see | Most likely layer | First observation | Stop condition |
|---|---|---|---|
| No Canvas or preview control | File, macro, or Canvas visibility | Check the open file and #Preview |
Do not change packages yet |
| Canvas shows an error card | Source or dependency build | Read the first red error | Fix the first compiler error only |
| Canvas is blank but the project builds | Preview data or rendering state | Replace live data with static values | Stop if the minimal view also fails |
| Preview starts, then crashes | Runtime or forced data assumption | Inspect the crash message and inputs | Do not blame the network first |
| Remote Canvas appears frozen | Connection, compiler, or rendering | Test terminal and build progress | Wait only while progress is visible |
Apple describes Previews as a Canvas workflow that can display SwiftUI interfaces in different devices and configurations. The official Previews in Xcode documentation also explains why a preview definition matters: Xcode needs an instruction for the interface it should show.
A preview is a temporary workbench, not the completed app. It is closer to a sketch pinned beside your code than a full acceptance test. A visible Canvas does not prove that the target builds, the simulator launches, or a real device capability works.
First check: is the preview entry actually present?
A common beginner mistake is opening a file that looks like a screen but is not a complete SwiftUI view. UIKit files, AppKit files, model files, and helper files do not automatically produce a SwiftUI preview.
Use this short check:
- [ ] The file contains a SwiftUI view, normally a type conforming to
View. - [ ] The file imports the framework required by the view.
- [ ] The file contains a valid
#Previewmacro or a compatible preview definition. - [ ] The preview refers to a view that can be initialized without missing arguments.
- [ ] The selected target supports the platform used by the view.
- [ ] The file is included in the intended target.
A minimal example should look like this:
import SwiftUI

struct WelcomeView: View {
    var body: some View {
        Text("Hello, SwiftUI")
            .padding()
    }
}

#Preview {
    WelcomeView()
}
The preview macro is not decoration. It is the address label for the Canvas. Apple’s guide on adding previews to interface files documents the supported preview approach. Follow the syntax supported by the Xcode 27 build installed on the Mac. Do not copy an older tutorial blindly if its preview declaration uses a different style.
If the Canvas does not appear at all, check whether the Canvas is hidden before changing code. Also confirm that the active editor is the SwiftUI file containing the preview definition. Opening a view file without a preview block can make the absence look like a rendering failure.
Target settings are the quiet blocker
“Target” means the app project or build destination that receives the file. Think of it as the assignment folder selected for compilation. A view can be valid SwiftUI and still fail to preview if its target, platform, or deployment setting does not match the code.
Compare these items:
| Check | Safe action | Expected result |
|---|---|---|
| File membership | Open the target membership section and confirm the intended app target | The file is compiled with the app |
| Platform | Check whether the view uses iOS, macOS, or another supported platform | The preview device matches the code |
| Deployment setting | Compare the project setting with APIs used in the view | Unsupported APIs are identified clearly |
| Preview initializer | Remove unnecessary parameters temporarily | The sample view can initialize alone |
| Package dependency | Temporarily use a system-only view | A package problem is isolated |
Do not change several target settings at once. We want one observable result after each action. If adding the file to the correct target makes the preview appear, stop there and document the change.
Second check: separate compiler errors from preview errors
A SwiftUI Preview can fail because the project cannot compile. It can also fail after compilation because the preview data, runtime path, or Canvas state is wrong. These are different branches.
Start with the first red compiler message, not the last message in the error list. A missing type, wrong property name, unavailable API, or package failure can produce many secondary errors. Fixing the earliest relevant error often removes the rest.
| Error pattern | What it usually means | Low-risk action | Expected result |
|---|---|---|---|
| “Cannot find type” or similar | Missing declaration, import, or target membership | Check spelling, import, and file membership | The first source error changes or disappears |
| Package or module not found | Dependency is unavailable to the target | Test a view without the package | The minimal view previews |
| Preview data is empty | The view expects data not supplied in the preview | Use static sample data | The layout renders with known inputs |
| Preview crashes during rendering | Initializer or body triggers a runtime failure | Remove network, file, and device access | A pure view loads |
| Build succeeds but Canvas stays blank | Canvas, device, or rendering state issue | Recheck Canvas and device selection | The same view renders in a selected configuration |
A useful isolation view should have no network request, database read, authentication state, external package, camera, location permission, or real device dependency. Use fixed strings and simple values first. For example, replace a network-backed list with:
struct StudentListView: View {
    let names = ["Ada", "Lin", "Maya"]

    var body: some View {
        List(names, id: \.self) { name in
            Text(name)
        }
    }
}

#Preview {
    StudentListView()
}
If this view appears, the original problem is probably in data loading or a dependency rather than in SwiftUI’s basic rendering path.
Reminder: A successful Canvas preview is not final acceptance. Build the app target separately, then run the simulator or a real device when the assignment requires it.
Apple’s documentation for the legacy preview provider property is useful when reading older projects. Older code may use PreviewProvider, while newer code may use #Preview. The important question is whether the declaration is supported by the installed Xcode version and whether it points to a valid view.
Third check: compare Canvas, simulator, and remote display
These three tools answer different questions.
| Tool | What it checks | What it does not prove |
|---|---|---|
| SwiftUI Preview | Whether a view can render in a temporary design context | Full app launch, permissions, device behavior |
| Simulator | Whether the built app can launch in a simulated OS environment | Real sensors, signing, and every device capability |
| Physical device | Whether the app works on required hardware and account settings | That every Canvas layout path is correct |
If the Canvas is missing, inspect the Canvas visibility control and the selected preview device or appearance. Apple’s Canvas interaction guide covers changing preview configurations and interacting with the rendered interface.
Then run a separate build. If the build fails, stay on the compiler branch. If the build succeeds but the Canvas remains blank, use the minimal view. If the minimal view works, restore the original dependencies one at a time.
Do not use the simulator as a shortcut for every preview issue. The simulator can launch a built app while the Canvas still has a separate rendering problem. Conversely, a Canvas can display a view while the full app fails because of startup logic, signing, permissions, or missing runtime data.
Fourth check: is the remote Mac actually processing the request?
A remote Mac adds another observation layer. The screen may be delayed, but the Xcode process may still be compiling. It is unsafe to interpret a frozen picture as a SwiftUI failure without checking the machine itself.
Use this sequence:
- Check whether the remote screen updates when a window moves.
- Look at Xcode’s build or preview status for visible progress.
- Open a terminal session if available.
- Run a harmless command such as
pwd. - Confirm that the project directory responds.
- Build the minimal view without changing source code.
- Reconnect only after confirming whether the process is idle or active.
| Observation on the remote Mac | Likely interpretation | Next move |
|---|---|---|
| Terminal responds and Xcode shows progress | The request may still be processing | Allow the current build to finish |
| Terminal responds but Canvas is frozen | Canvas or display path is suspect | Test a minimal view and Canvas settings |
| Terminal does not respond | Connection or host issue | Reconnect and test the host before editing code |
| Xcode builds but preview never appears | Preview definition or rendering issue | Recheck #Preview, target, and device |
| Everything is slow after each action | Connection latency may be hiding state changes | Use fewer repeated clicks and observe one action at a time |
This is where a remote Mac can help, but it is not a universal fix. It gives a compatible macOS development environment when Windows or a restricted school computer cannot run Xcode. It cannot repair a missing preview macro, an invalid Swift type, or a broken package.
For students comparing options, our remote Mac environment overview is a sensible place to review the access model before starting a test. The decision should be based on the course requirement and the final acceptance task, not on the assumption that every Canvas delay is caused by your computer.
Choose the next environment by condition
Use the following branches instead of making a general “Mac versus Windows” decision.
- If the minimal view compiles and previews locally: stay in the current environment and restore project features one at a time.
- If Swift syntax practice works on Windows but Xcode is unavailable: continue learning syntax and project structure, then use a compatible Mac for preview and build acceptance.
- If the school computer blocks installation or permissions: avoid bypassing school controls. Use a borrowed Mac or a controlled remote Mac session.
- If Xcode 27 Beta behavior is involved: check the current Xcode 27 release notes before treating a result as stable.
- If the assignment requires a simulator, signing, or device test: a Canvas alone is insufficient. Plan a separate simulator or physical-device check.
- If the remote connection is the only failing layer: fix the connection or change access method before rewriting SwiftUI code.
- If the project has a fixed deadline and the local environment is incompatible: use a compatible Apple silicon Mac or remote Mac for the final verification, while keeping the source code unchanged.
The Xcode release notes page lists Beta material, but Beta requirements and behavior can change. We should verify the installed build, macOS version, and official support range at the time of testing. Do not present a Beta result as a permanent rule for every Xcode 27 installation.
The five-minute minimal Preview acceptance test
Use this checklist after making a change. It gives each step one clear result.
- [ ] Create a new SwiftUI view with one
Textelement. - [ ] Add a valid
#Previewblock. - [ ] Confirm that the Canvas is visible.
- [ ] Select one supported preview device and appearance.
- [ ] Change the text.
- [ ] Change the text color or padding.
- [ ] Confirm that the Canvas reflects both edits.
- [ ] Build the app target separately.
- [ ] Record whether the build succeeds.
- [ ] Run the simulator or required device test if the assignment needs it.
- [ ] Restore the original project data only after the minimal test passes.
The acceptance result should be written as a short note:
Preview macro: present
Canvas: visible
Text update: passed
Build: passed or failed
Simulator/device: tested or not required
Environment: local Mac, school Mac, or remote Mac
This note prevents circular troubleshooting. If the minimal view passes but the project view fails, we have evidence that the environment is basically functional. The next investigation belongs in the project’s dependencies, data, target settings, or runtime behavior.
Final FAQ for beginner cases
The most useful answer depends on where the failure starts. A blank Canvas after a compiler error is not the same problem as a remote screen that stops updating. Use the relevant branch above, then repeat the minimal acceptance test after each major change.
When a remote Mac is the better fallback
A local Windows computer remains useful for Swift syntax, reading source code, planning views, and reviewing project structure. It is not a substitute for Xcode preview verification. A restricted school computer has a different problem: even if the hardware is suitable, installation permissions, account limits, or classroom policies may block the required tools.
A remote Mac is reasonable when the course requires Xcode, the local machine cannot run a compatible macOS environment, and the work is intermittent or deadline-driven. It is less suitable when the student needs a permanent high-load workstation, physical USB access, uninterrupted device testing, or long-running local services.
We should also distinguish the current solution’s weaknesses. Windows cannot provide native Xcode Canvas validation. A school computer may reset files or block required permissions. A local macOS virtual machine can introduce compatibility, performance, and licensing questions, and it may not match the required hardware path. For a short SwiftUI assignment, renting a real remote Mac through MESHLAUNCH can be a cleaner test environment than forcing a fragile local workaround.
Before choosing a plan, review the available remote Mac access options, then compare the session length, required tools, and final deliverable. The sensible sequence is to finish the minimal Preview acceptance test first, confirm that the course truly needs a Mac, and only then move the work to a remote machine.
If the goal is temporary Xcode practice rather than permanent heavy development, a remote Mac lets the student validate the actual Canvas, build, and simulator workflow without buying hardware. Keep the troubleshooting record, because it will show whether the next failure is in SwiftUI code, Xcode, or the connection itself.